How To Take Screenshots On HP Laptop Or Desktop Computer?
Take Screenshots On HP Laptop
HP laptops, also known as desktop computers are getting quite popular these days since it is among the most popular names in the world of computers. With regard to that, you ought to be aware of how to accomplish different tasks with an HP desktop or laptop due to the fact that they are so widespread and popular they are.
One thing you’ll need to know is to take screenshots since they can be used for a diverse range of uses. However, how do you capture pictures using HP computers or laptops?
The easiest method for you to take a picture using your HP computer or laptop is to look for the PrtScn icon in your keyboard. When you press this button, it will take a snapshot of the current content displayed on your screen, but you will need to launch an image editing software to save the image on it. Save the image as JPG or as PNG.
Also Read: How To Factory Reset HUAWEI Laptop With Windows 10?
Being able to capture a screenshot could be extremely useful regardless of which brand of computer you’re using. This is particularly crucial in the case of the HP brand as there are numerous places of work and schools that utilize HP laptops as well as computers. There are many ways to actually create screenshots on your HP computer, and these are the ones we’re looking to learn about.

How do I take screenshots using the HP notebook or computer?
If you’re employing an HP laptop or an HP desktop there are many options for you to take a picture since both computers are built to be comparable in their capabilities. The only distinction is that laptops are designed to be lighter and more portable. However, let’s explore the various options to take screen shots using the help of an HP computer or desktop.
The simple and standard way
The first thing to be aware of regarding HP desktops and laptops is that they are designed and built to run Windows as well as Chrome operating system. This means they also provide a straightforward method to be able to capture pictures of what’s happening visible on your screen. This is done by simply pressing your keyboard.
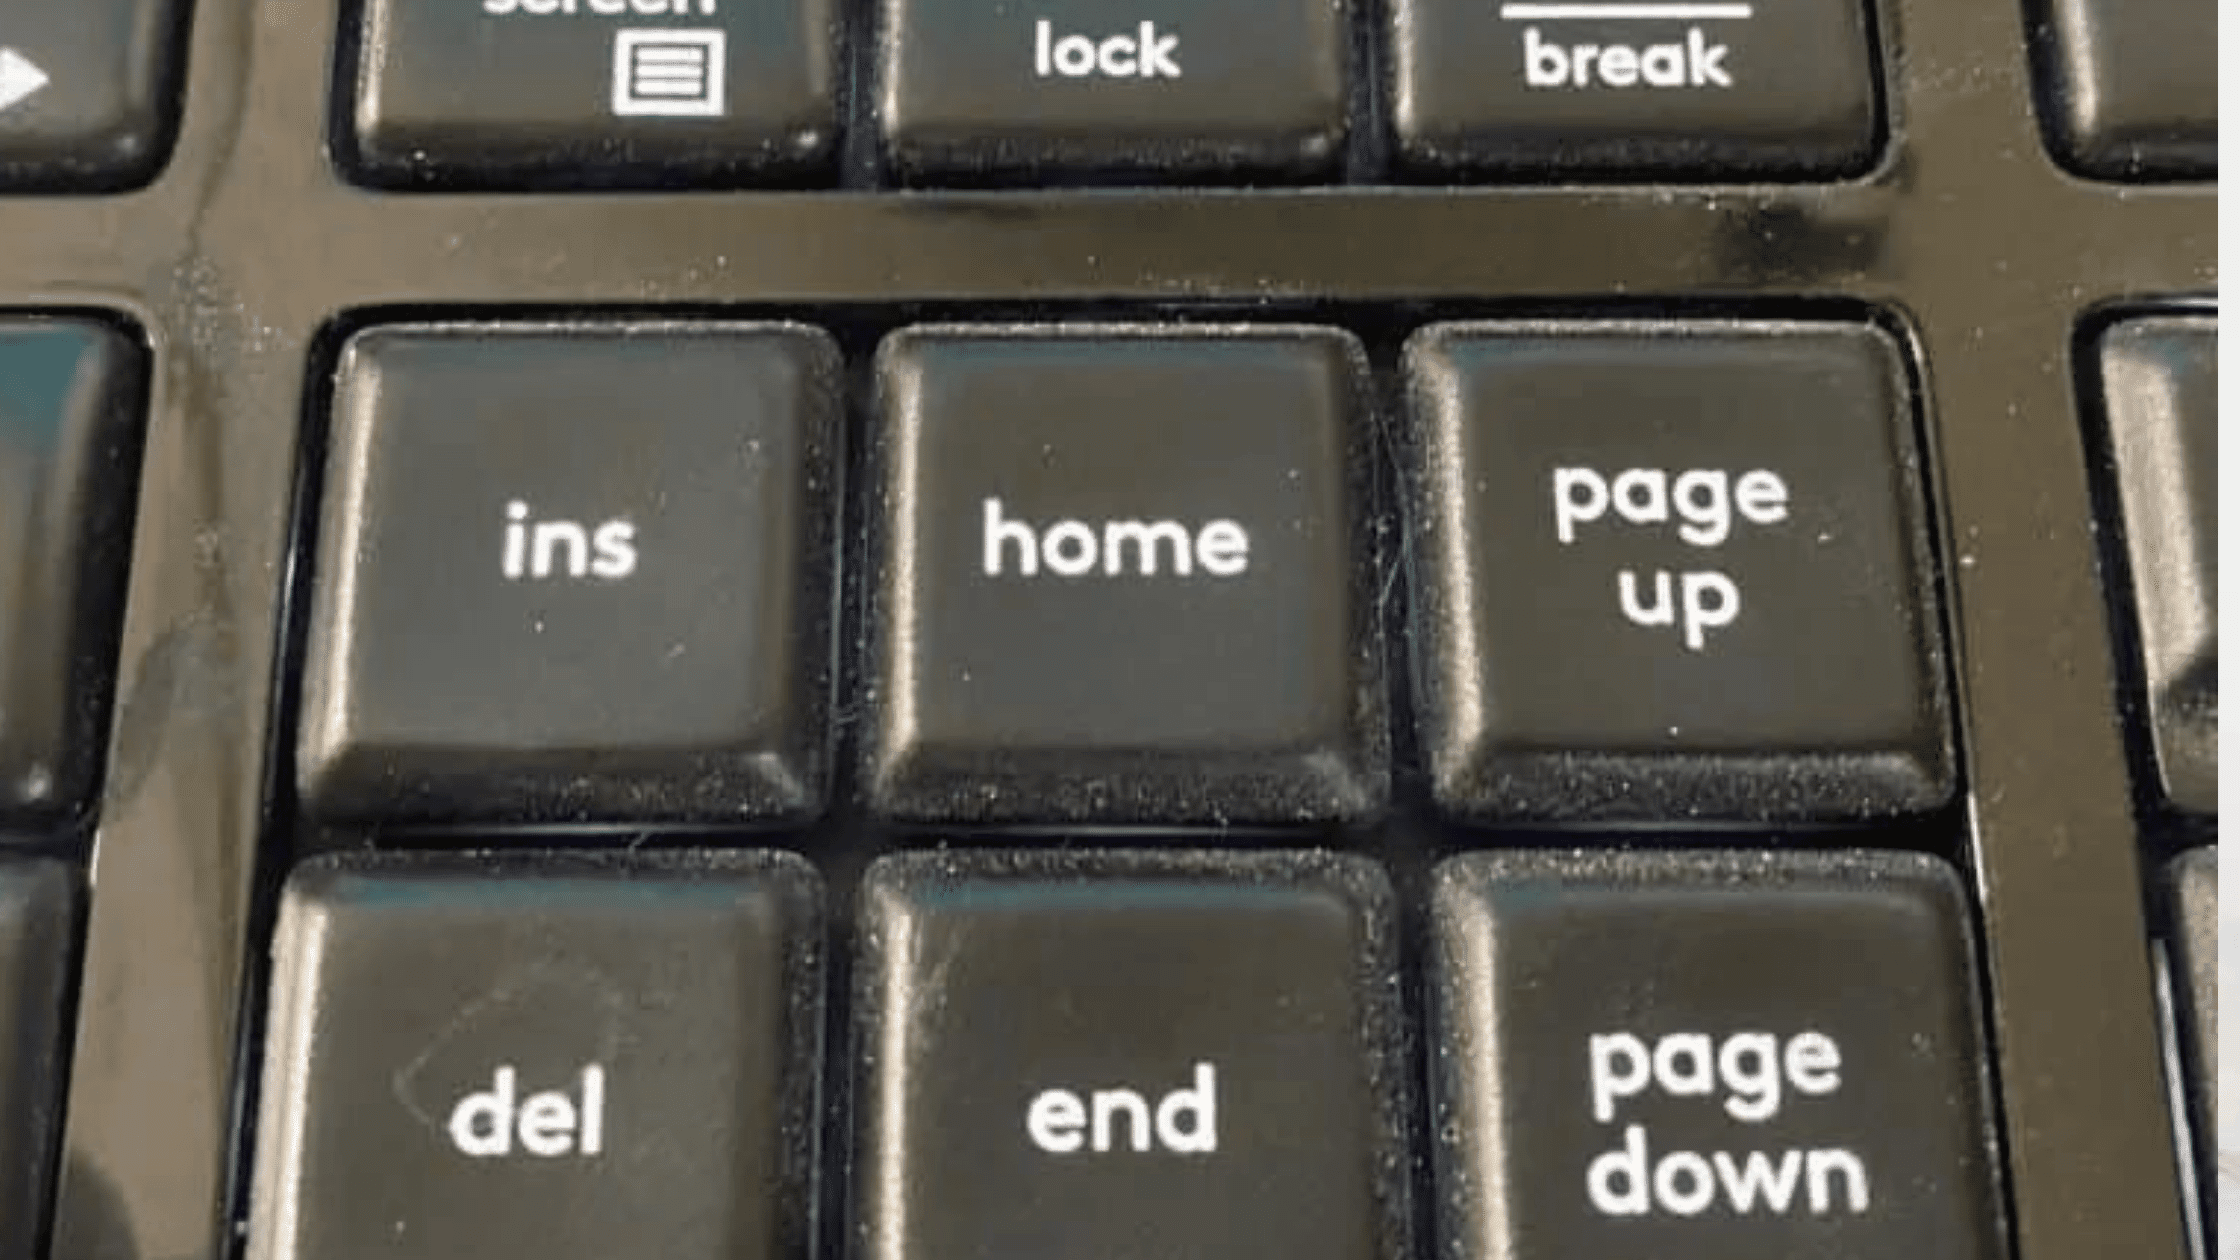
The only thing you need to do is locate the PrtSC or PrtScn button, which basically means “print screen”. It is located on your desktop or laptop keyboard in the upper right-hand side. However, if you’re making use of an HP keyboard on the HP Desktop computer the key may not be available, especially when you have an older keyboard,
Also Read: How to restore a dell laptop – Dell factory image using Dell Backup and Recovery?
which may be small but lacks a number of keys. If this is the situation, you’ll have to go using other methods for taking an image. If the PrtScn button is activated, pressing it is enough to take screenshots of either your HP notebook or computer.
But, it is important to be aware that the image you took will not be saved at when you click the button as a result of the way it’s saved or copied onto your desktop or laptop clipboard. That means you have to place it in a specific location before you save or utilize the image. Also, the image is floating and searching for a permanent location. When you click the same PrtScn button , or when you copy another image or text the prior screenshot will disappear unless you save it.
Here are the steps you should do to capture a good image and save it
- Press the Windows key that is on your keyboard and your Print Screen key simultaneously, so that you are capable of taking a picture of the whole screen. The screen on your HP computer or desktop will dim to show that you have successfully taken an image.
- Use an image editor program like Microsoft Paint as well as Photoshop. Microsoft Paint tends to be the most popular option for many different users.
- If you don’t want to save the image, you can simply paste it into a place for instance, when you want to add it as an attached to an email, or Word file. Use CTRL+V to open the document or email you wish to add the screenshot to.
- If you want to save the screen use CTRL+V in an image editing program , or right-click and copy an image.
- Then you are able to save the file either as an image in JPG or PNG. Save it to a folder is easy to access.
The method above is the most efficient and most efficient way to capture a screen shot on your HP desktop or laptop, but it’s not the only method to take a screenshot. Let’s explore alternative methods to do it, will we?
Also Read: How to create a dell recovery usb – Dell Recovery and Restore USB drive
Partial screenshot
The issue with the default method of taking a screenshot is that you’re basically taking a picture of the whole screen. But, you are able to capture a portion of the screen to allow you to capture a snapshot of specific areas of the screen, while leaving the rest of the image. This is the point where Snip and Sketch help to help you to create a screen with the HP computer or Desktop.
It was in the year 2018 that Windows 10 introduced the new Snip and Sketch feature, which allows you to take a small portion of your screen, and later capture it without the need of third-party apps or programs. We’ll now look at the methods you can use Snip and Sketch to take partial screen shots.
- Press the Windows keys, Shift+S simultaneously. This will cause the screen go white for a few seconds and your cursor will transform from a pointer into the form of a crosshair.
- Utilizing the crosshair cursor, choose the area of the screen you want to capture or take a screenshot. Once you’ve done that the screen will disappear off the screen and be copied to the clipboard on your HP laptop’s clipboard.
- Start an image editing program such as Microsoft Paint. If you do not want to save the picture and only want to use it one time it is possible to simply copy it in a word program or into an email.
- In the image editing software use CTRL+V to copy the image. The same can be done in case you’re just sending it as an attachment via email Word document.
- Save the image in an JPG or PNG format file.
Snipping tool
Another method to capture screenshots on the HP PC or notebook is using the tool called Snipping. This tool has been used from Windows Vista. Therefore, if you’ve got an older HP PC running an older version of the operating system, this could be the perfect tool to try. The thing we like about the tool Snipping is that it allows you to choose any part of your screen to take a screenshot or capture.
Also Read: How do I setup a Lemp server?
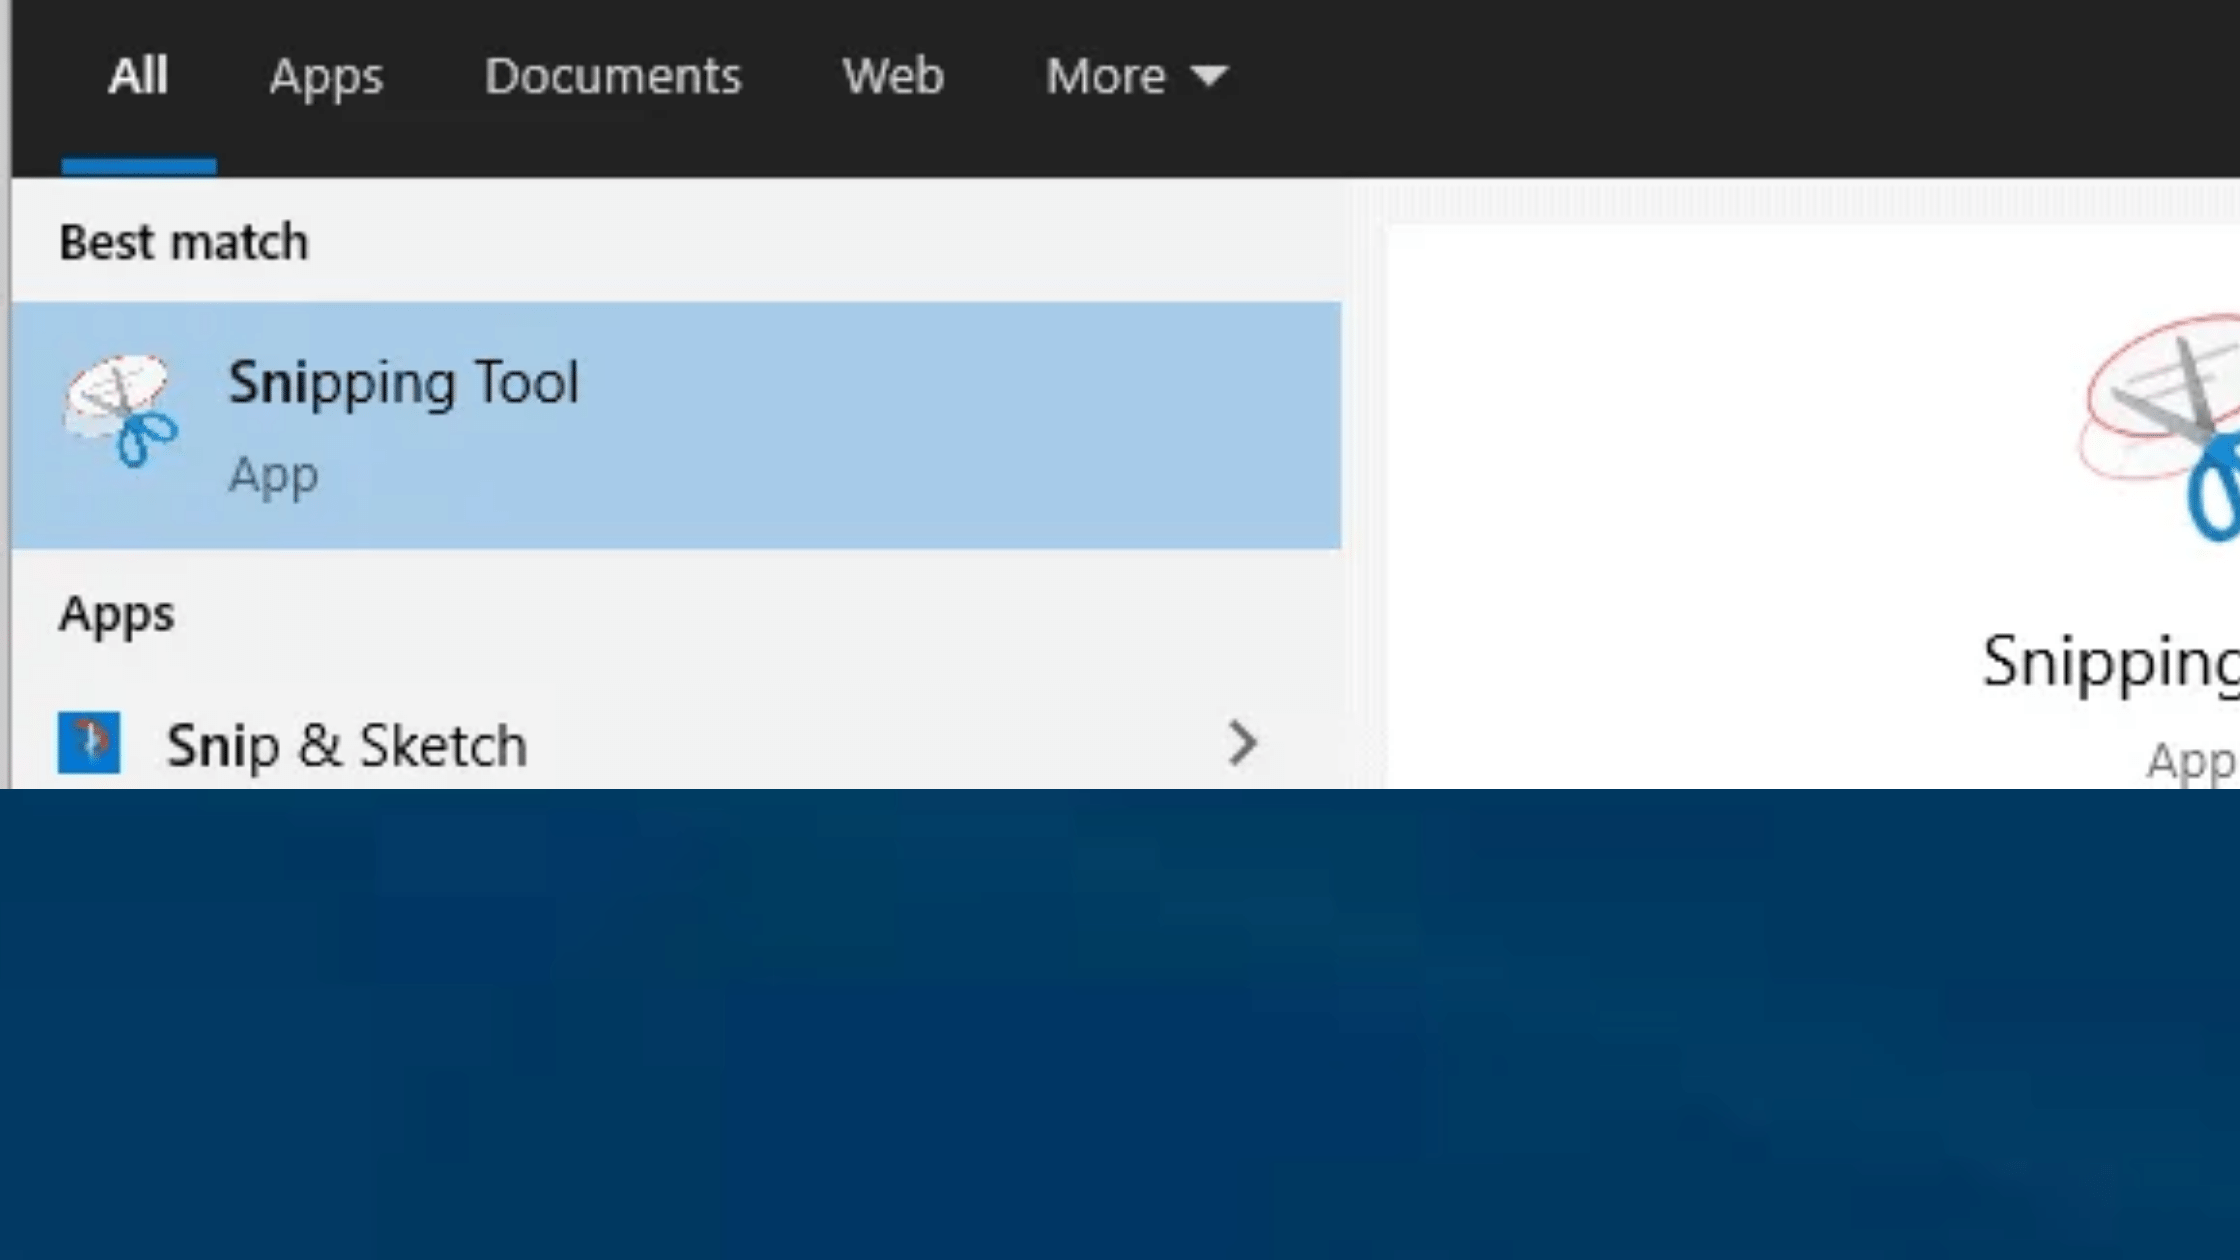
- The Snipping Tool can be found through the Start menu of your HP Windows PC. We’ll go over the ways to use this tool:
- Start the Snipping Tool application by clicking on the Start menu. Select “New” or CTRL+N to create the new Snipping.
- Utilize the crosshair cursor draw a rectangular outline of the size of your personal preferences.
- In the toolbar for the Snipping Tool click the disk icon until you can save the image in an image in PNG or JPEG.
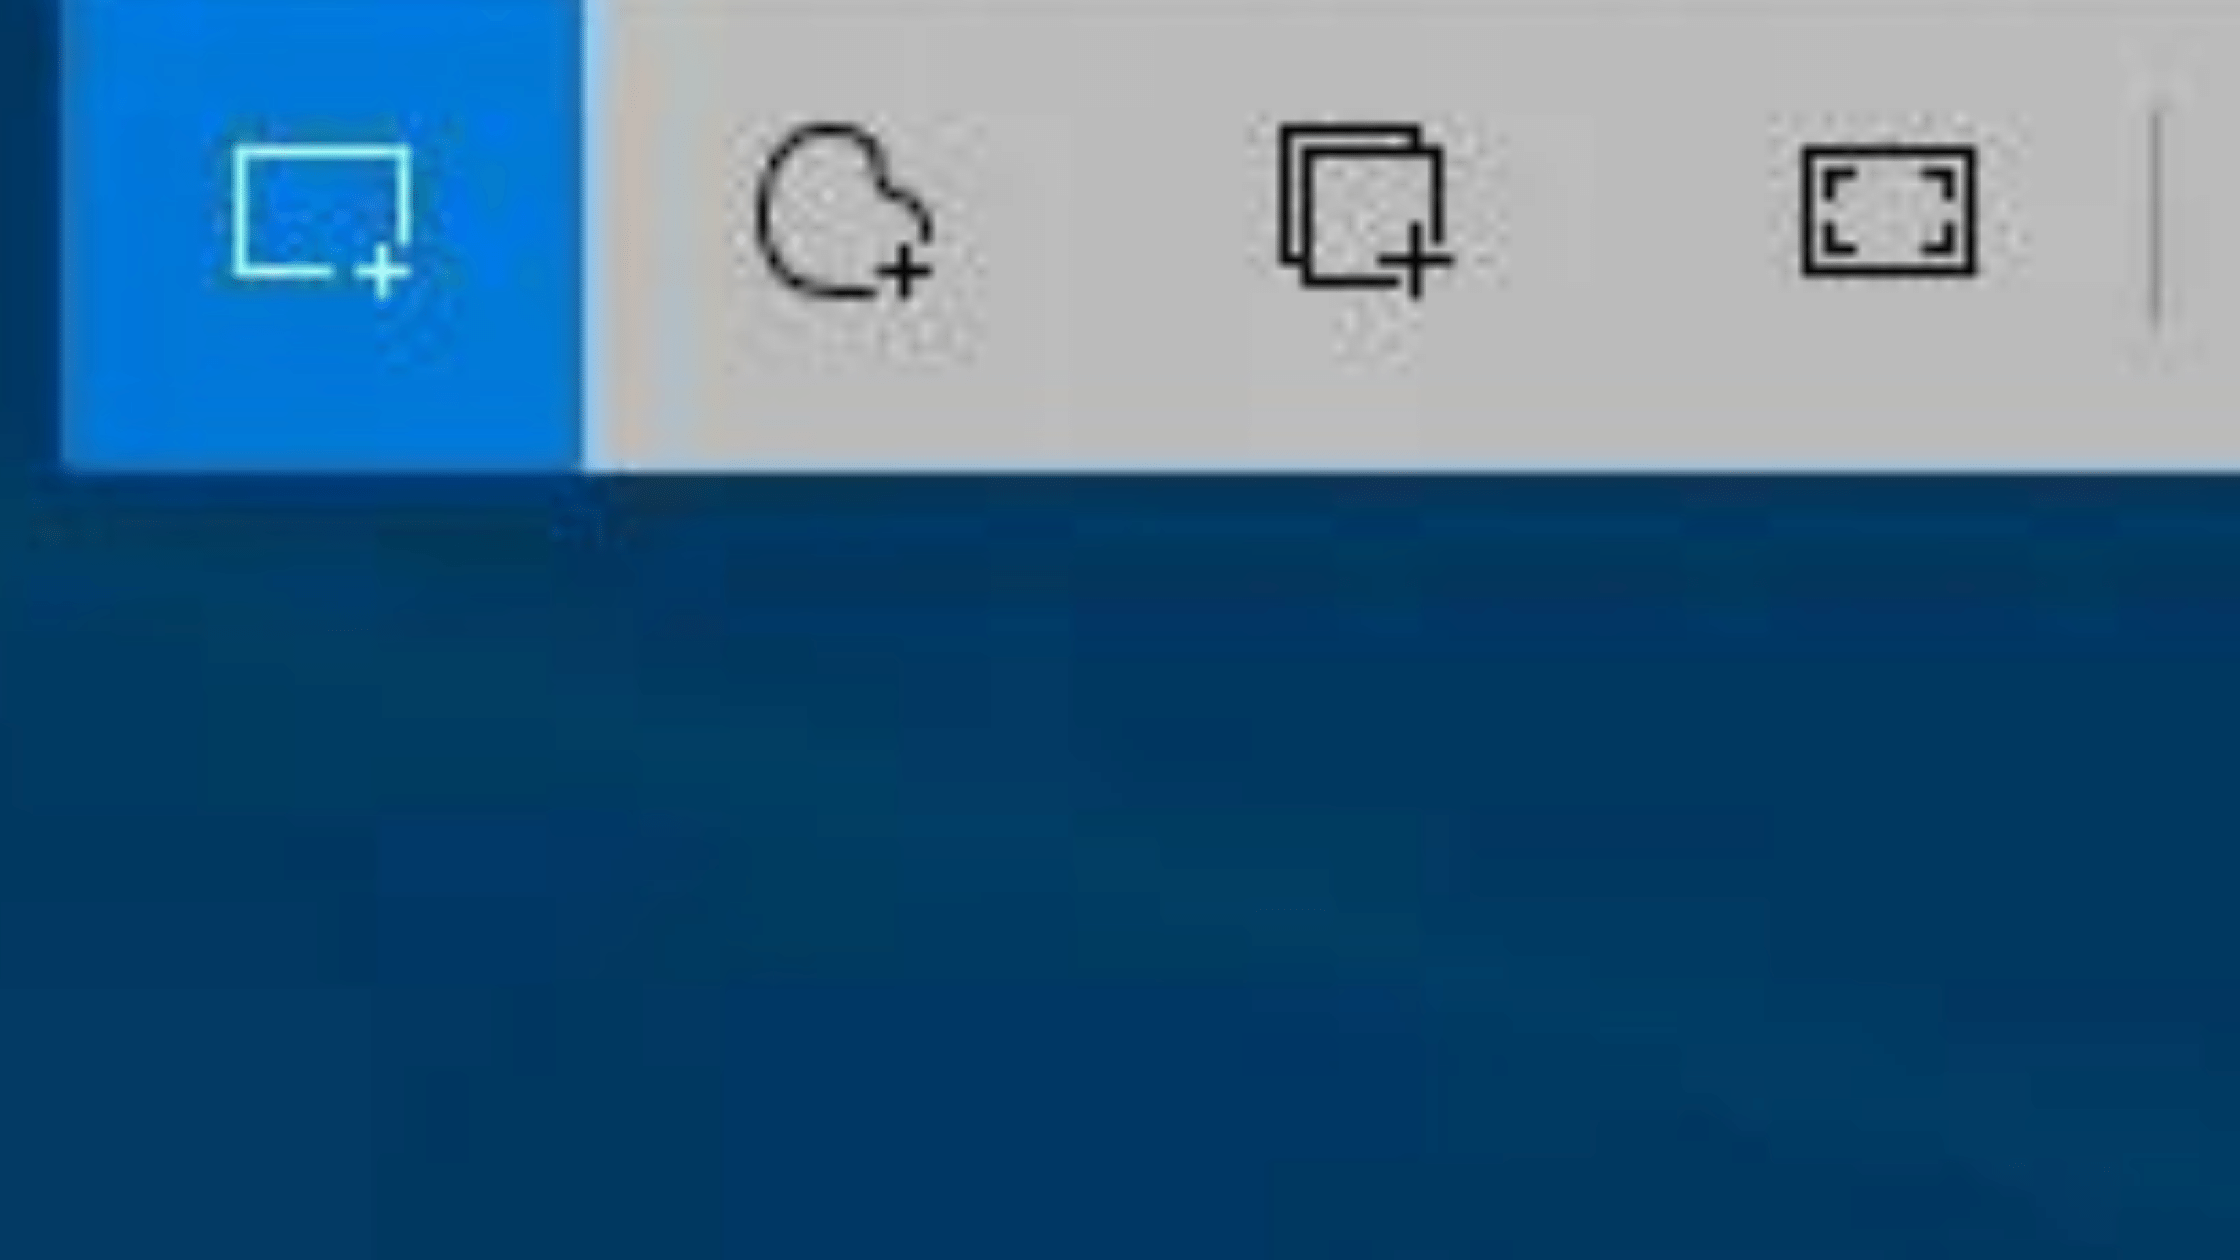
Another thing we love about the tool Snipping is the fact that it has different modes. Therefore, instead of using the rectangular cut, you could utilize other shapes based on your personal preferences. These could include the ovals or circles.
Snagit
Snagit is another method to take screen shots on your HP desktop or laptop. Its greatest benefit is that Snagit is that it’s great in photo editing, and offers a user-friendly interface that is simple to use no matter the amount of experience you have making use of photo editing tools.
There are a variety of options to accomplish using Snagit in regards to the screenshots you take. You can edit and resize the images. Snagit even allows users to capture videos. Here’s how you can make use of Snagit to take screenshots effectively:
- Get and install the Snagit application. Open it.
- When you have it open, look for the red circle icon to allow you to use the camera for screenshots.
- Click the camera icon when you need to capture an image. If you’re looking to take a video of a screenshot choose this icon to record instead.
- With your mouse, choose the part of the screen that you wish to take a screenshot of.
- Once you’ve done that after that, the picture or video you took a screenshot of will show up within your Snagit application. It is here that you are able to do whatever you like with it, like editing, resizing or copying it.
How to capture screenshots on an HP tablet
What happens do you do if you own the HP tablet instead of an laptop or desktop? What can you do to take screen shots? Here are the methods you can use to capture a picture by using an HP tablet:
The standard and default method
Whatever the operating system (Windows or Android) the HP tablet runs on, it’s likely to be a different experience to take a picture using your tablet computer since it does not have an keyboard with buttons you simply need to press to take a picture. But, there’s an effective and traditional method to take a screenshot and it’s not that different the way you can capture a picture using your smartphone.
- Hold and press the power button as well as hold the button to turn down volume at the same at the same time. It is necessary to hold them for 2 seconds before the screen blinks. This means that you have successfully made a screen capture.
- The photo that you have just taken a screenshot within the folders of your HP tablet’s photo folders. The great thing about this is the fact that there’s no have to copy it to an image editing software for your computer to store it.
Where do you store your screenshot?
If you go back to our HP laptops as well as desktop computer, you may be wondering where the screenshot is stored after you’ve clicked the screen capture button. That’s why you may be looking through your photo folders and discover that it’s not there.
What you need to be aware of is that regardless of whether you’re using any laptop and desktop computer, Windows will not save your screenshot whenever you use the Print Screen button to your keyboard. You are the person who should save it.
As mentioned earlier that the image will not be saved to a file, however, it will be copied onto your computer’s clipboard. This means you need to paste the screenshot onto something in order to be able to view it.
If you’ve already taken another image or copied a different document or file, the screenshot you copied to your clipboard will get overwritten. That’s why it’s important to copy and save the image in the earliest time possible.
Also Read: 7 Best Ways How do I Enable VNC connections on Mac?
If you’re only planning to save the image in an email as an attachment or word document, just open your email, or word document and hit CTRL+V to copy the image. However, if you’d like to save the screenshot you can use an image editor like Microsoft Paint and then paste it into the program. Then you save the file in JPG or PNG, and then decide where for it to be saved.
Do you have the option of editing your image before saving it?
If you’ve chosen the standard and most convenient method to capture screenshots for or off of your HP computer or computer desktop, can there the possibility to alter it before saving? There could be areas of the screen you’d like to keep out of the image.
The good thing is that you’re able to modify the image before saving it. You will need to depend on your image editing software to edit the image. After you have pasted the image into the tool for image editing You can then utilize the various editing tools that are available including cropping, annotating, or enhancing it based on your personal preferences.
The screenshot can be saved in a JPG or as a PNG following you’ve edited it.